How to install snap clad standing seam roof panels on a residential roof?
2026-07-15 19:52:10
Installing Snap Clad Standing Seam Roof Panels on a home roof needs a planned process that starts with preparing the deck, then installing the underlayment, placing clips at regular intervals, aligning the panels from the eave to the ridge, and locking the snap-lock interlocking seams securely without using mechanical seaming tools. This hidden bolt system cuts down on work time and provides better weather protection, making it a good choice for workers who have to meet tight project deadlines and high performance standards.

Introduction
The use of standing seam metal roofs on homes has changed the way they are built because it lasts longer than other materials. As someone who has worked closely with roofing contractors and procurement managers on both business and household projects, I know that proper installation has a direct effect on how well a system works for many years. This roofing option is different from manually seamed options because it has a snap-lock system that makes installation easier while keeping the structure strong in extreme weather. When building companies and roofers look at different materials, knowing how they are installed helps them figure out how much work will be needed, how long the project will take, and how much it will be worth in the long run. This guide walks you through the whole installation process and points out technical issues that can affect your insurance and your customers' happiness.
Understanding Snap Clad Standing Seam Roof Panels
What Makes This System Different
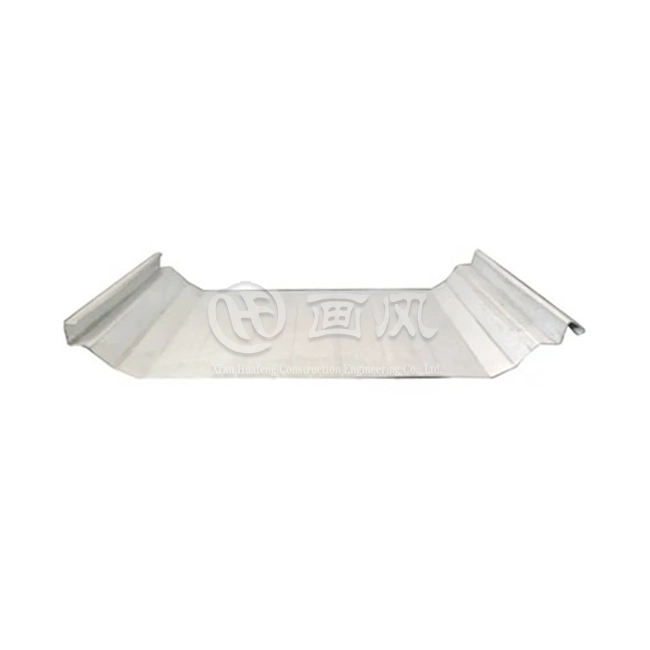
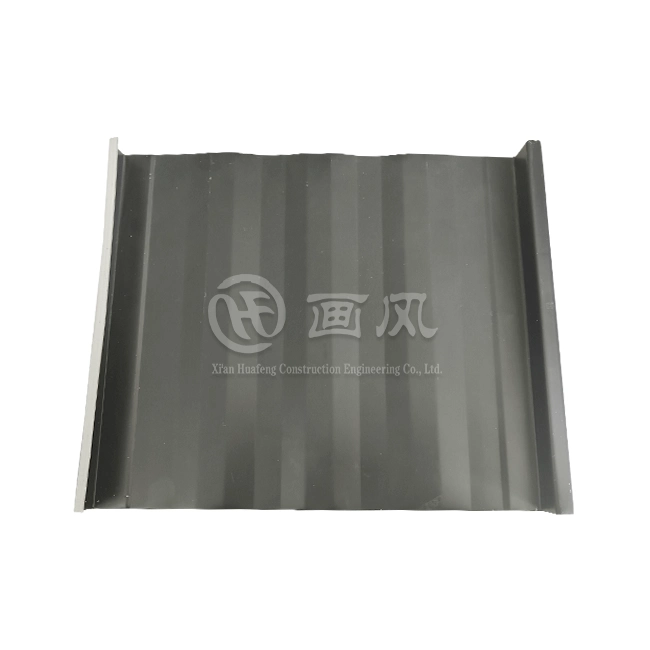
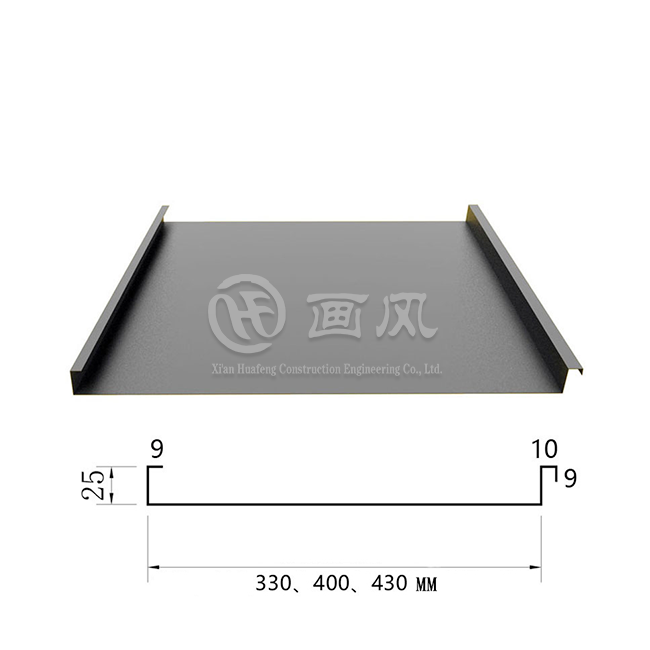
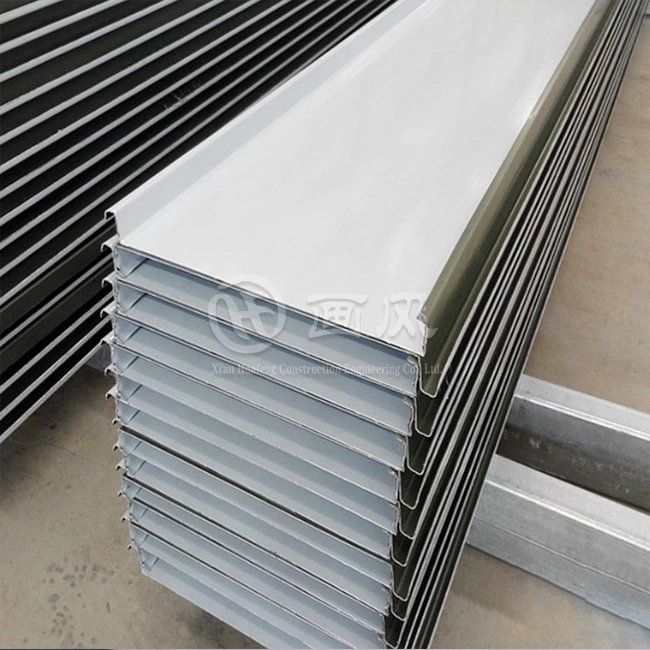
Snap-Clad Standing Seam Roof Panel systems have profiles that are precisely designed with male and female legs that fit together without the need for special seaming tools. When the male leg snaps into place, the factory-applied sealing bead on the female leg makes a barrier that keeps water out. This design gets rid of the need for open fasteners, which are a typical place for standard roofing systems to fail. The vertical seam height is usually between 45 and 50 mm, which is high enough to shed water even on low-slope projects with a 2:12 pitch.
Material Options and Performance Characteristics
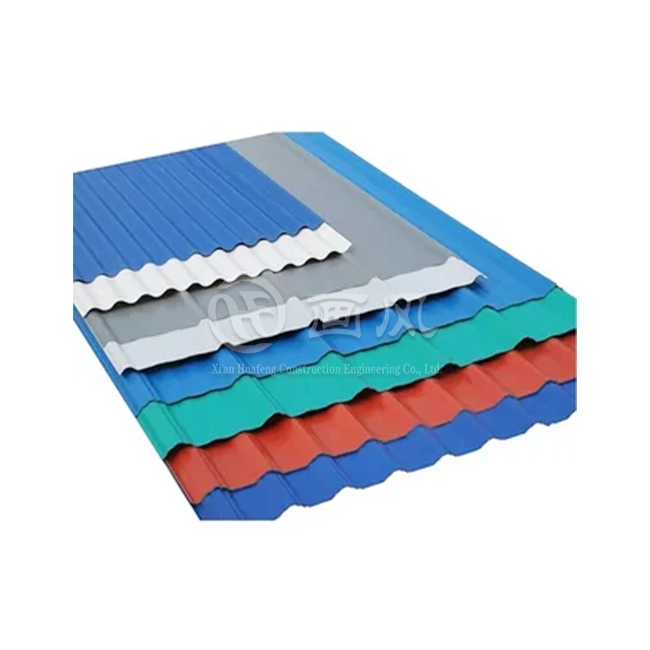
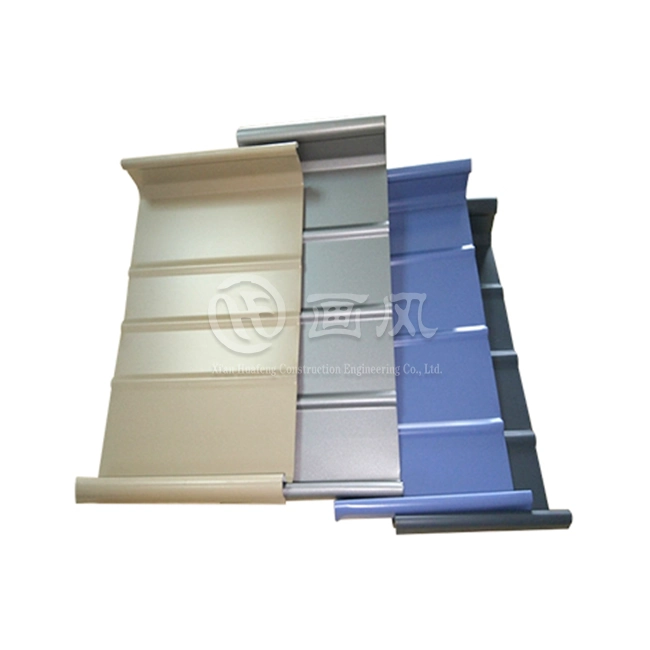
HF makes these panels from a variety of base materials, such as aluminum alloy, coated steel, stainless steel, copper, and titanium zinc. Each of these materials has its own benefits for different types of environments. Aluminum doesn't rust, which is good for coastal projects. On the other hand, steel foundations are cheaper for home use inland. The thickness range of 0.5 to 1.2 mm lets you make changes based on the needs of the structure and the expected snow loads. Protective finishes include PVDF and PE coats that meet ASTM, DIN, JIS, BS, and GB/T standards. These coatings keep the color and don't chalk over the 30-year protection period.
The hidden clip system can handle changes in temperature, which is important for panels that are longer than 40 feet. This moving connection method keeps panels from warping and fasteners from wearing out, which can make them less weatherproof. The snap-lock design also stops oil from canning because it has built-in stiffening ribs in the panel shape. This keeps the panel's good looks, which is important for high-visibility home setups.
Preparing for Installation: Key Considerations
Roof Assessment and Material Selection
Accurately measuring the size of the roof before buying materials lets you know how many panels you need and cuts down on waste. The shape of the roof affects how the panels are laid out, especially where there are dips, hips, and slopes that need unique flashing. A structural deck review proves that the deck can hold enough weight, which is especially important when updating older homes. Certain wind uplift rates may be required by local building rules. This can change the clip spacing and fastener requirements.
When procurement managers look for resources, they should think about HF's ability to offer 1000 tons per month with delivery times of 15 to 20 days. The low minimum order quantity of 500㎡, or 1 ton, makes buying in bulk affordable for apartment complexes with multiple units or builders who are working on multiple projects at the same time. Lead times for materials affect building schedules, so coordinating the arrival of panels with weather windows and the availability of workers saves money by avoiding costly delays.
Essential Tools and Complementary Materials
For work to go smoothly, you need more than just normal roofing tools. Panel lifts, also called roof jacks, are safe ways to move long panels into place without damaging the protected coats of a snap clad standing seam roof panel. Adjustable torque levels on cordless drills make sure that fasteners are properly engaged without being over-tightened. Electric shears or aviation snips can be used to cut panels to the right length for gable ends and penetrations. Seam engagement tools make sure that the snap-lock link is complete along the lengths of the panels.
Choosing the right underlayment has a big effect on how well the system works. High-temperature synthetic underlayments keep the structure of the roof stable during installation delays and stop glue from bleeding through. Self-adhesive coverings around roof penetrations and eaves protect against water damage even more. Thermal expansion clips, which come in both fixed and moving styles, need to fit the panel's shape and the amount of thermal movement that is expected. The type of decking and the length of the screws needed are different for metal purlins and wood decking.
Project Planning and Logistics
Workflow problems can be avoided if material providers, installation teams, and project managers work together well. Safe installation windows are based on weather estimates, since heavy rain or wind can damage materials and make them less safe. Areas for staging near the edge of the roof, arrange panels in order, which cuts down on the time needed to move them and the damage to their surfaces. OSHA rules for home building say that safety gear like fall protection harnesses, anchor points, and guardrails must be used.
Step-by-Step Installation Guide for Residential Roofs
Deck Preparation and Underlayment Installation
The installation process starts with a deck check to find and fix any structural problems and make sure the surface is flat and within the tolerances. Panel waviness that can be seen after finishing is caused by screws that stick out or sheathing that is uneven. Clear the deck's surface of any trash that could poke holes in the flooring or stop it from sticking.
Roll the flooring horizontally from the eave to the ridge, leaving 6-inch laps on the sides and 3-inch laps at the ends. Use cap nails or staples to secure it every so often, as the maker tells you to. Overlap each course so that water can drain properly during installation, before the panels cover the whole area, and provide full security. In cold places where ice dams are common, put ice and water shield along the eaves, valleys, and around all roof penetrations. Make sure it goes at least 24 inches past the inside wall lines.
Clip Installation and Panel Alignment
Using a chalk line, make a baseline that is aligned to the eave. The first clip row should be placed 6 to 8 inches from the edge of the eave. Attach clips at intervals that are calculated by engineers based on the amount of wind uplift that is needed. Typical intervals are between 12 and 24 inches on center, with closer intervals near the edges and sides of the roof where uplift forces are strongest. Fixed clips hold panels in place in one spot (usually in the middle of the roof or on the top), but thermal clips let them move in either direction.
Place the first panel along the rake edge and use a level along the seam to make sure it's straight. It is recommended that the panel extension at the eave be the same length as the drip edge, which is usually 1-2 inches. Engage the male leg into the first row of clips and make sure it's fully seated before moving on. At this point, the look of the whole roof plane depends on how the panels are lined up, so take your time getting them in the right place before putting the next panels in place.
Engaging Snap-Lock Seams
Place the second snap clad standing seam roof panel so that the female leg is lined up with the male leg of the first panel. As you slide the female leg onto the male leg, starting at the eave, apply downward pressure until you hear or feel the snap, which means the joints are fully engaged. As you move toward the hill, check every few feet to make sure the seam is fully engaged. Seams that aren't joined together completely let water and wind rise through.
When the panels are engaged, the factory-applied sealant in the female leg goes into action, making a weathertight shield that runs the length of the gap. This is what makes snap-lock systems different from manually seamed designs that only use metal-to-metal contact. Repeat this process across the roof plane, making sure that the seam lines stay straight and the panel spacing remains consistent. If you walk directly on flat panel surfaces, you could damage them permanently. Instead, use crawl boards to distribute your weight evenly.
Managing Penetrations and Roof Details
Roof penetrations like vent lines, HVAC curbs, and skylights need to be carefully flashed in order to keep the system's integrity. Put in entry boots or special flashings before the panels get to those spots. This will make sure that the materials are put in the right order. Curb flashings usually have a base plate that attaches to the deck and a raised leg that sticks out above the panel surface and is covered by a different piece of counterflashing.
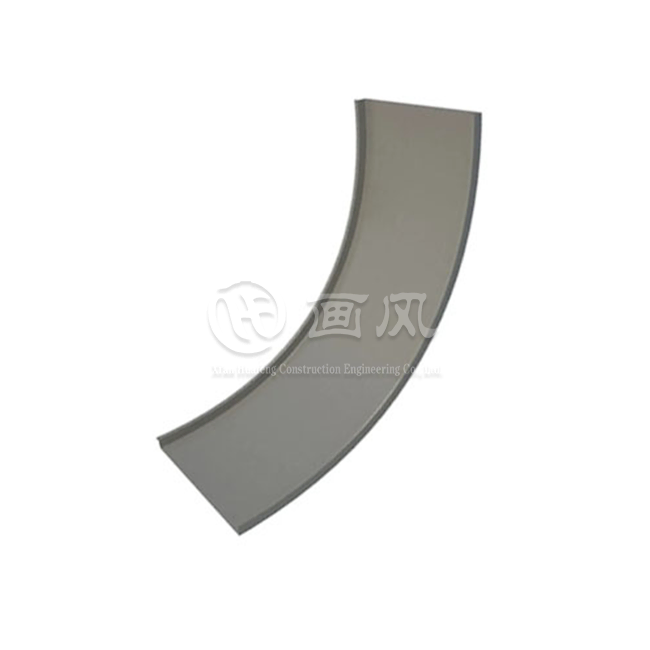
For valley uses, you need to make custom valley pans with great care or use prefabricated valley parts that fit into the standing seam shape. Ridge caps protect the point where two different roof lines meet. They usually have a separate cap piece that snaps or fastens over the ridge clips. Gable trim hides the ends of panels when the roof is tilted, giving the roof a finished look and keeping wind-driven moisture from getting behind the panels.
Common Installation Errors to Avoid
Several mistakes hurt the system's performance and make the maker's guarantees invalid. When you over-tighten screws through clips, you change the way the heat moves, which can cause the fasteners to break or the panel to buckle. Leak paths are made when there isn't enough overlap or coverage in the floor, and they're only seen after bad weather. When panel surfaces are damaged by rough handling or tool contact, rust speeds up, and the service life is shortened.
If you walk on panels without wearing safety gear, you'll get oil canning and lasting dents that ruin the look. When installing panels in temperatures below what the maker recommends, the sealant doesn't work as well, and the metal becomes weak. The most common cause of leaks and wind damage after installation is not checking that all snap-locks are fully engaged along every seam.
Post-Installation Care and Maintenance Tips
Inspection Schedule and Cleaning Protocols
Standing seam metal roofs don't need as much care as other types of roofs, but regular checks can help them last longer and find problems before they get worse. Visual checks should be done twice a year, once after the winter weather and again after the summer heat waves. Check around penetrations for loose bolts, broken sealant beads, or panels that have moved out of place. Getting rid of the debris that builds up in valleys is necessary to keep water from pooling and speeding up rusting.
Cleaning keeps things looking nice and gets rid of dirt and other things that break down protective layers. Avoid harsh cleaners and high-pressure cleaning that can damage paint finishes. Instead, use low-pressure water with light, pH-neutral detergents. Rinse well to keep residue from building up. Because of salt spray or airborne pollution, some seaside or industrial areas need to be cleaned more often.
Understanding Warranty Coverage
If you follow the instructions for fitting, HF will cover material defects, finish performance, and structural stability for 30 years. There are different performance standards for base perforation, coating decline, and color fade in warranty terms. If problems happen, warranty claims can be backed up by proper recording of installation methods, such as photos and material certificates.
Coverage is void for unauthorized changes, poor upkeep, or installation deviations. This shows how important qualified fitters are for complicated projects. Transferable warranties raise the value of homes when they are sold again, which is something that builders who sell energy-efficient homes with high-quality roofing systems think about.
Troubleshooting Common Issues
Leaks in a snap clad standing seam roof panel system usually start at holes, end laps, or seams that aren't properly engaged, not through whole panel surfaces. Systematic checking finds entry points so that only the damaged parts need to be replaced. Water can get in through corners or trim pieces with loose connections that make it appear that the water source is far away from the actual leak location. Noises caused by thermal expansion when temperatures change are normal and indicate that the system is functioning properly, allowing the metal to move without creating excessive stress.
Comparing Snap Clad Standing Seam Panels with Other Roofing Options
Performance Advantages Over Traditional Materials
Asphalt shingle roofs need to be replaced about every 15 to 20 years, but metal roofs that are put correctly can last more than 50 years. Because it lasts longer, the overall cost of ownership is lower, even though the original cost of materials is higher. Energy efficiency is another big benefit. Metal roofs with coatings that reflect light lower cooling costs by 10 to 25 percent compared to dark asphalt shingles that soak up sunlight.
Fire resistance is very important for safety, especially in places where wildfires are common, and Class A fire ratings can lower insurance rates. Additionally, metal roofing sheds snow better than rough shingles, which lowers the load on the structure and stops ice dams from forming. When it comes to the environment, metal systems are better than asphalt roofs because the materials can be recycled after they're no longer useful.
Distinguishing Features Among Metal Roofing Types
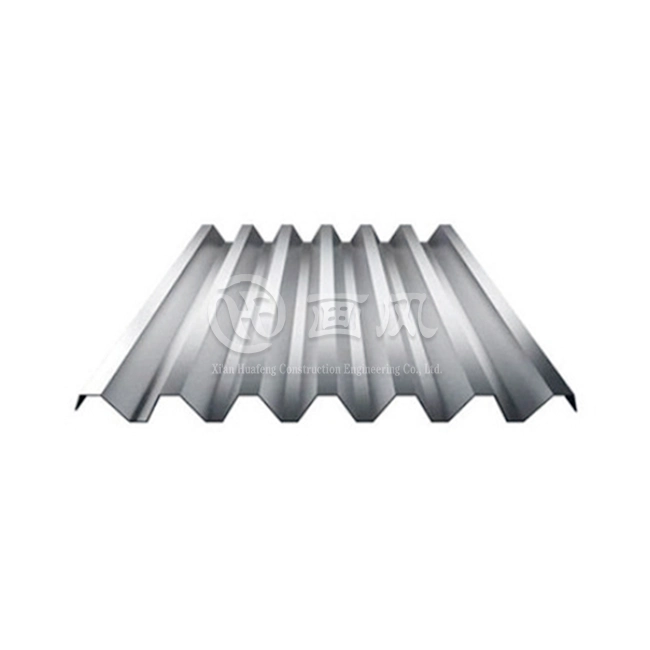
To crimp the edges of panels together in mechanically seamed standing seam systems, you need special tools and trained workers. This makes the installation more difficult and costs more in labor. These steps are no longer needed with snap-lock technology, which cuts installation time by 20–30% while keeping the same level of structural performance. Corrugated metal panels have visible screws that go through the surface, which get worn down over time. This makes leaky spots that need to be fixed on a regular basis.
Snap-Clad systems offer clean vertical lines that are popular in modern home design while also being aesthetically pleasing. The hidden fastener design gets rid of the industrial look that comes with panels with visible fasteners. This means that metal roofs can be used in areas with strict building codes. Panel width choices and custom color matching through RAL standards give designers a lot of freedom to make designs that look good to a wide range of people.
Procurement Considerations for Professional Buyers
The success of a project is directly affected by how reliable the supplier is. This makes choosing a maker an important decision point. HF runs three factories with more than 40 specialized tools and seven production lines. This makes sure that quality and shipping performance are always the same. Getting ISO9001 and ISO14001 certifications shows that you care about quality control and the environment, which are both very important for workers working on green-certified projects.
Contractors who are working on multiple jobs at the same time can save money by making bulk purchases. Being able to buy unique colors and panel lengths cuts down on field cutting and material waste, which speeds up the installation process. Technical support from makers helps fix problems quickly in the field, which keeps projects from being held up, and cuts into profits.
Conclusion
From preparing the deck to putting on the finishing trim, installing Snap Clad Standing Seam Roof Panels necessitates close attention to technical details at every step. The hidden fastener design and snap-lock technology of the system make it reliable against the weather while requiring less work than options that are mechanically seamed. Long-term performance and guarantee compliance depend on the choice of material, where the clips are placed, how well the seams are engaged, and how well the flashing is integrated. When roofing contractors and procurement managers look at metal roofing options, knowing what needs to be done to put them helps them figure out if the job is possible and how much it will cost. Even though they cost more at first than standard materials, these systems are still a good investment because they come with a 30-year warranty and don't need much upkeep. This is especially true for clients who care about sustainability and lifecycle value.
FAQ
1. What minimum roof slope works with this system?
Standing seam metal roofing works well on slopes as low as 2:12, which means it can be used in most home settings. Steeper pitches are better at shedding water, but they aren't necessary for weathertight performance. Below 2:12, panels that are manually seamed and have extra sealant added are needed to keep water out under hydraulic pressure.
2. How long does residential installation typically take?
Installation times rely on how complicated the roof is, how experienced the crew is, and how the weather is. A simple 2,000-square-foot home roof with few holes usually takes three to five days to fix with a two-person crew. Complex roof shapes with many slopes, dormers, or windows add time to the project in the same way. When compared to mechanically seamed systems, which take 40–50% more work hours, snap-lock systems can be put together faster.
3. Can I install these panels over existing shingles?
Most places have building rules that say there can only be two pieces of roof covering, and manufacturers usually say to put it over solid decking with the right underlayment. Putting metal panels over old shingles can trap water and make the surface uneven, which can be seen through the metal panels. Taking off the old roof lets you check out and fix the deck, which stops problems from happening in the future that would need to be fixed by taking off panels.
Partner with HF for Your Standing Seam Roofing Projects
HF's wide range of services complements the needs of demanding project contractors and building companies wanting a dependable Snap Clad Standing Seam Roof Panel maker. Our three factories process 1,000 tons of materials every month, and deliveries are always made 15 to 20 days on time. This means that your project can stay on plan without any delays that hurt building schedules. Our dedication to quality is shown by the 30-year guarantee that is backed by ASTM, DIN, JIS, BS, and GB/T compliance. This saves your name with customers. Aluminum alloy, steel, stainless steel, copper, titanium, zinc, and thicknesses ranging from 0.5mm to 1.2mm are all available as materials. This gives design freedom for a wide range of uses and budgets. Custom color matching using RAL standards and PVDF/PE finish choices ensures that the building's look fits with the architect's plans. Email our technical team at huafeng@hfmetalroof.com to talk about your unique project needs, get information on materials, and get low prices on your next home or business roofing installation.
References
1. Metal Construction Association. (2021). Technical Bulletin: Standing Seam Roof System Installation Guidelines. Cleveland: MCA Publications.
2. American Society for Testing and Materials. (2020). ASTM E1592-20 Standard Test Method for Structural Performance of Sheet Metal Roof and Siding Systems. West Conshohocken: ASTM International.
3. National Roofing Contractors Association. (2019). The NRCA Roofing Manual: Metal Panel and SPF Roof Systems. Rosemont: NRCA.
4. Copper Development Association. (2018). Metal Roofing Design Guide for Residential Applications. McLean: CDA Technical Publications.
5. Revie, R.W. & Uhlig, H.H. (2022). Corrosion and Corrosion Control in Metal Roofing Systems (5th Edition). Hoboken: Wiley-Interscience.
6. Building Enclosure Council. (2020). Thermal Movement in Metal Roofing: Design Considerations for Standing Seam Systems. Washington: National Institute of Building Sciences.





YOU MAY LIKE